How to Use Optimage to Make Your Site SEO-Ready
Truthfully, SEO (Search Engine Optimization) isn’t anyone’s favorite topic. It can be difficult to understand even for professionals. But if you’re creating (or already have) a website for your small business, it’s a necessity to at least understand the basics. One of those basics is image optimization, one of the simplest and most effective steps you can take to help your website get seen by more people on search engines.
I’ll be using a powerful tool called Optimage throughout this tutorial. While Optimage has a ton of different useful features and use cases (check out their site for a full list), I’ll strictly be talking about its ability to optimize the images on your website.
Why do I need to optimize my images?
Image optimization is one of the most important facets of SEO for one simple reason: speed. Bigger image files mean slower load times, which can frustrate users and negatively impact your search ranking.
→ Not sure what SEO is or why you need it? Check out the ahrefs Beginner SEO guide.
Not only does optimization benefit your site (and your business), it’s better for the planet. Bigger file sizes = more energy used every time you upload and every time a visitor views your site. Reducing your file sizes isn’t going to fix the climate crisis by any means, but it is one small step you can take to reduce the energy used by your website.
So what is image optimization exactly? Put plainly, it’s reducing the file size of your images in a way that doesn’t lower their quality. There are several ways to optimize images, but the fastest and best quality tool I’ve ever used is Optimage.
How does optimization work? When should I use it?
Optimage is a Mac OS app that speedily and efficiently resizes and reduces your images so they’re ready to be uploaded on your site. You can see huge reductions in file size with no loss of quality in the image itself, which is important — we don’t want any blurriness or pixelation in the final result.
You should run your images through Optimage before uploading them onto your site. That means photos on the main pages of your site (home, about, etc.), as well as — and this is key! — on your blog. Yes, every image! You’ll want to optimize social sharing images, pinterest bookmarklet graphics… every image contributes to the load time of your site, so don’t skip this step.
It’s extremely simple to use. Just install Optimage, set your preferences, and drag and drop the file you want to optimize into the Optimage window. Like so:


These are the image optimization settings I use for squarespace. feel free to copy these settings. 😄

With one exception: when working with a logo or graphic that has a transparent background, which .jpegs can’t accommodate. Then you want to make sure to change the filetype to .png.
Let’s look at an example using this image by @cherenkevich on Unsplash.

This image, when downloaded at its original size (4160 x 6240), is a whopping 2.5 MB. Which is exactly what you want with an original, high quality photo — nice and crisp.
Before optimizing:

After Optimizing with Optimage:
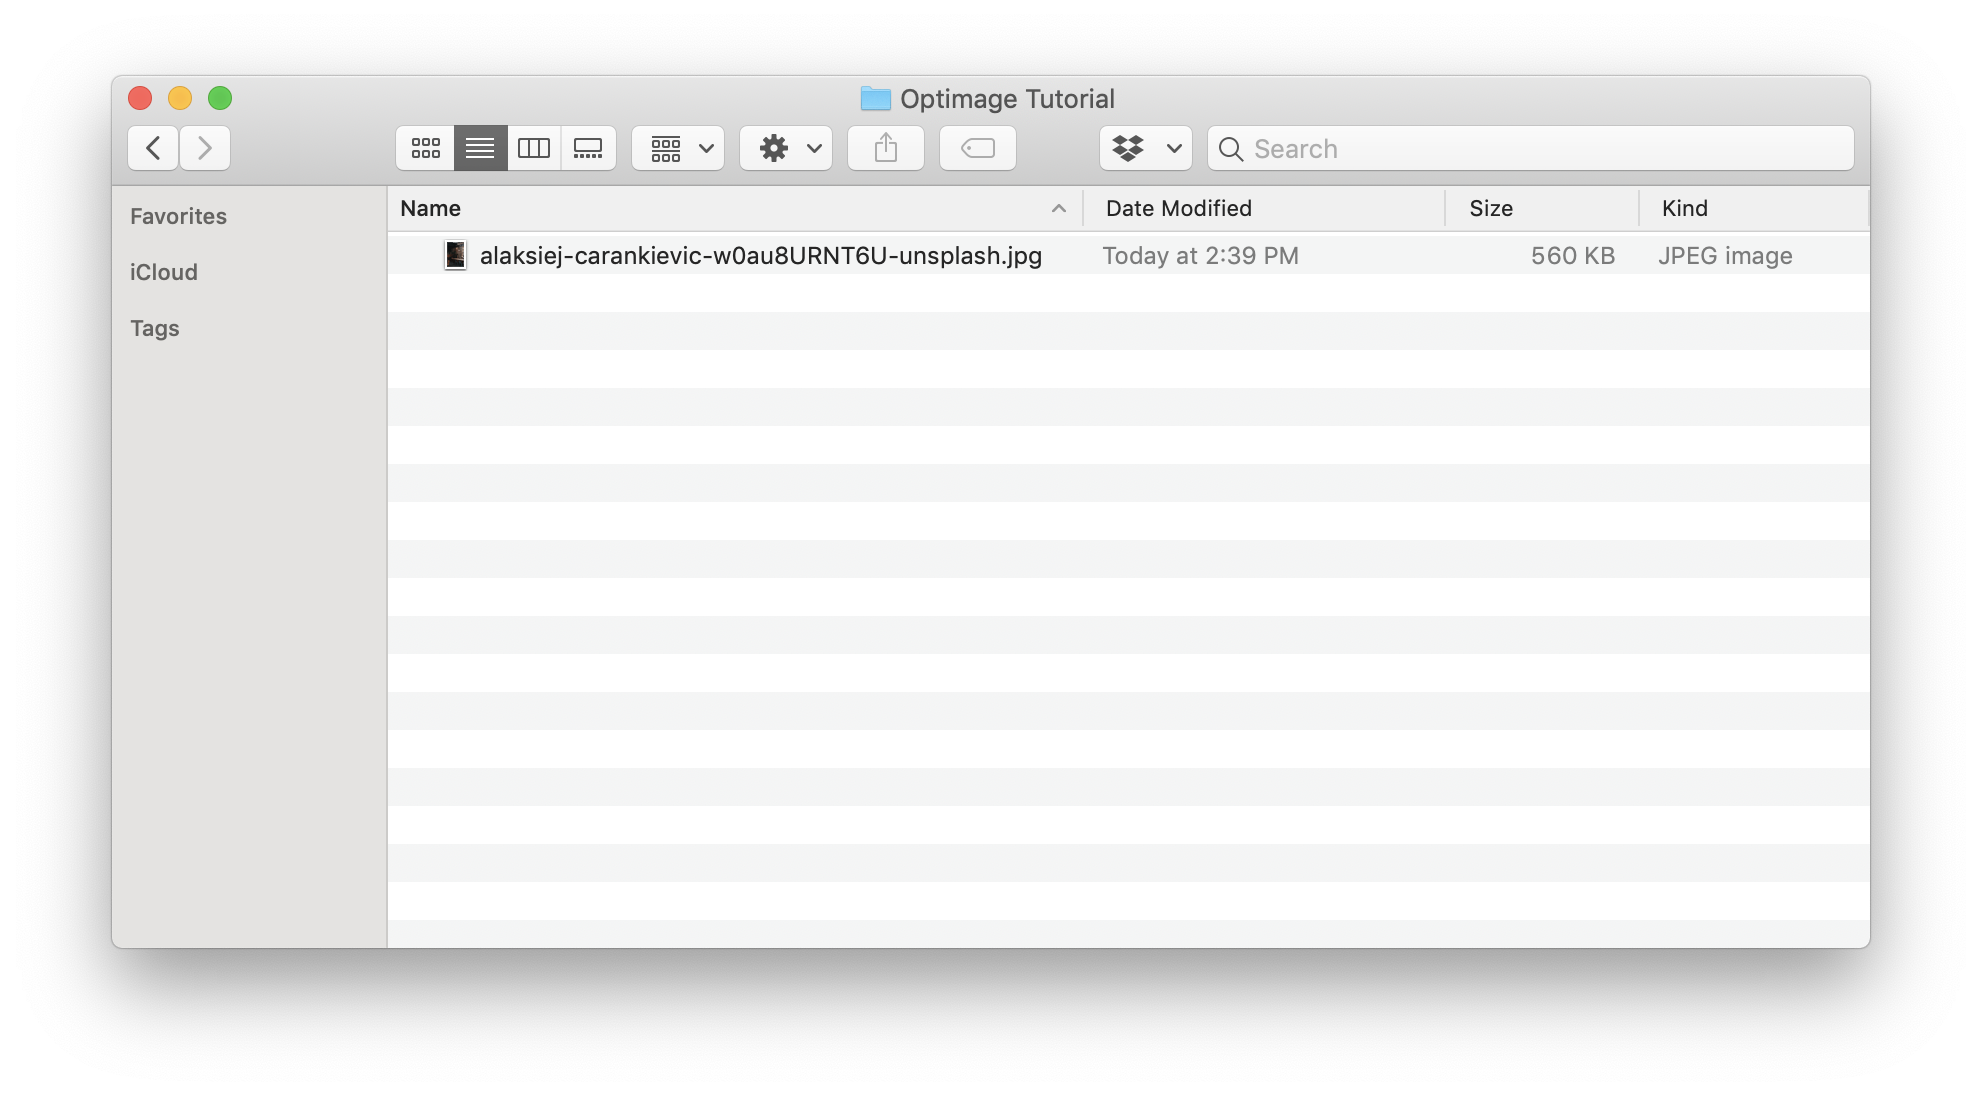
Now it’s just 560 KB! That’s a fraction of its original size. Think about how many images are on your website in total, and you realize file sizes add up. Plus, scroll up a little and look at our example image again. That’s the compressed version! It’s a beautiful quality and takes up a tiny amount of space compared to the original file.
What if I don’t have a Mac OS computer?
Unfortunately, Optimage is only available for Mac OS. But there are a few good alternatives you can use. If you can’t use Optimage, the next tool I would turn to is a web-based app called Compressor.
Another thing to keep in mind is that Optimage is free to download, with a limitation of 24 images per day. I used the free version for a while with no issues, but eventually upgraded, and the cost (around $15) is totally worth it if you have a lot of images to optimize — that said, you can totally get by with the free version.
And that’s all for now! I hope by now you can see the value in optimizing your images and how easy it can be.
Image optimization is important for both the initial build of your site and after launch (as in updating your blog posts and sharing images) but if you’re here because you’re sick of trying to DIY, it doesn’t have to be a frustrating experience — that’s what web designers like me are here for, to give you the support you need and guide you through the process of creating your site from start to finish.

“Your ability to guide your clients towards a goal is unmatched.”